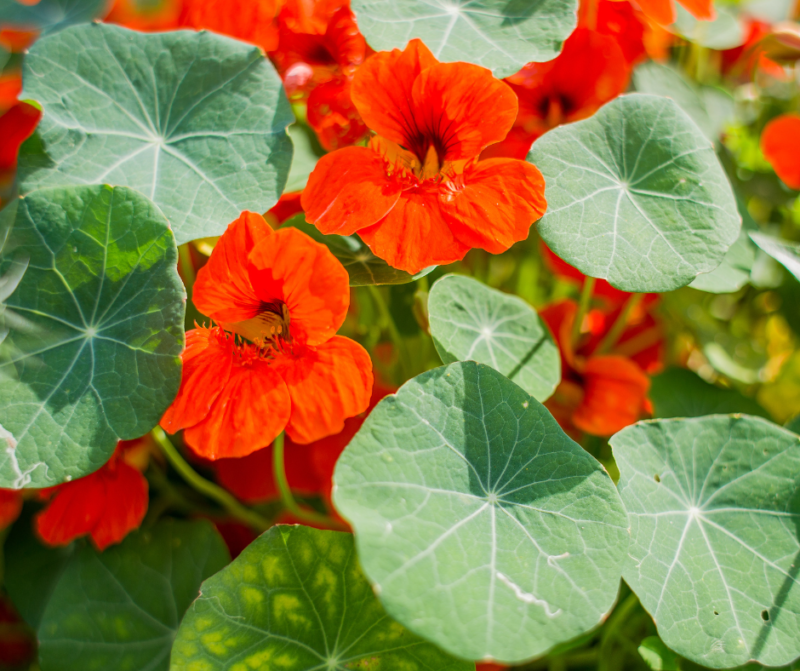
Nasturtiums are a workhorse farm flower that many gardeners plant simply for their beauty and carefree nature. The truth is that nasturtiums serve many important roles in a garden; we shouldn’t just grow them for their good looks alone.
1. Nasturtiums Are Edible
If you haven’t nibbled a nasturtium blossom, it’s time. Their fresh, peppery flavor is a spectacular way to spice up a salad or sandwich, or top a cracker spread with cream cheese. There are many recipes using nasturtiums cooked as well, including my favorite: stuffed with goat cheese, battered and fried. Nasturtiums can also be candied for use on cakes, tarts and other desserts. Oh, and the leaves are edible, too.
Pricing and selling nasturtiums in the edible flower market can also contribute to a profitable farm income.
2. They’re Aphid Nurseries
You’re probably asking yourself why I would include this in a list of positive nasturtium attributes, but the truth is, if you don’t have a few plants that aphids love in your garden, you won’t have a good population of ladybugs, lacewings and other beneficial insects around either. Nasturtiums can tolerate a ton of aphids feeding on them with little ill effects, so having them around as an aphid nursery means they can also help grow a healthy population of beneficial insects who can keep pest outbreaks on other plants in check.
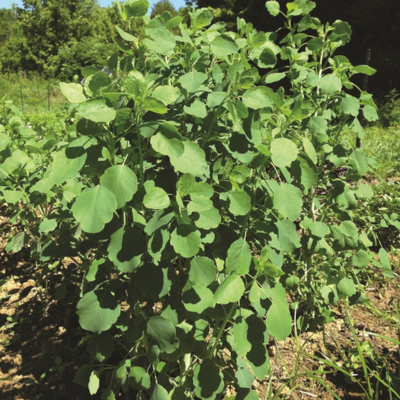
3. Nasturtiums Make a Great Living Mulch
Trailing nasturtium varieties spread very quickly and cover a lot of ground, making an unwelcoming environment for weeds as they do. The soil in a garden with a cover of nasturtium foliage is shaded, which helps suppress weed seed germination. A living mulch of nasturtiums might also prevent excess moisture loss from the soil due to evaporation, and it helps shade the soil to keep it a bit cooler during hot summer weather.
4. They Provide Food for Pollinators
Nasturtium blossoms are a great nectar source for a wide variety of insects, including long-tongued bumblebees and butterflies. You’ll also find hummingbirds enjoying the nectar the blooms produce. That long spur you find at the back of the flower is where the nectar is found, so only certain creatures can access it, but those that do, are a joy to watch in the garden. Nasturtiums are quite floriferous, too, with most plants in constant bloom from mid-summer through fall’s first frost.

5. Nasturtiums Provide Excellent Toad Habitat
The bug-eating prowess of toads often goes unappreciated by farmers, but the truth is that every morning and every evening, toads patrol the garden, lapping up ants, slugs, beetles and scores of other insects. Even if you seldom spot a toad in your landscape during the day, know that there are still likely to be many around. During warm, sunny weather, toads take shelter, nestling under mulch, in cavities or under a cooling canopy of foliage. And guess what plant’s foliage makes a great canopy for toads? That’s right, nasturtiums. Their…
 Carmen Peppers
 Garden Huckleberries
 Salt & Pepper Cucumbers
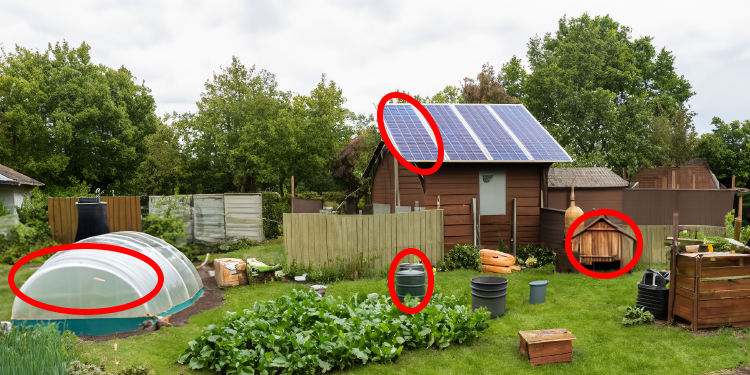
 Hotbeds provide bottom heat to transplants, enhancing germination and stimulating root growth.