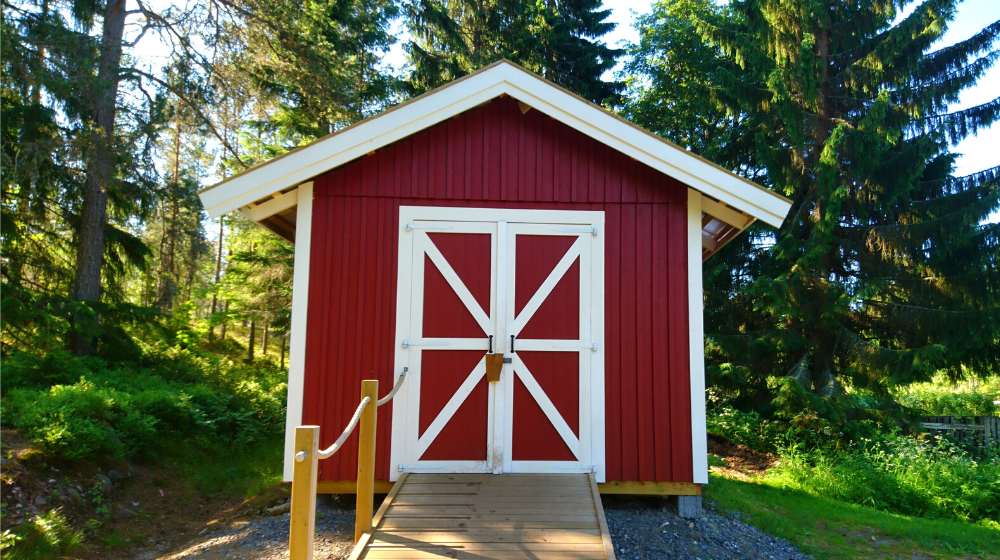
Want to know how to build a DIY shed? Whether you need a shed for your tools or just extra storage for the homestead, I’m sure you’ll find this easy and practical!
If you’re planning on building a shed on a budget, then this DIY project is for you!
RELATED: How to Build a Log Cabin By Hand | Homesteading Ideas
An Easy-to-Build DIY Shed Perfect for Your Homestead
Pointers to Keep in Mind Before Building a Shed:
- Determine your needs.
- Check if you need to ask for a permit.
- Look what shed is available in store.
- Create a plan which will benefit you in the future.
- Plan what shed you want.
- Determine what type of shed you will build (wood or metal).
What You’ll Need to Build a Cost-Effective Shed:
- Hammer
- Clamps
- Air compressor
- Air hose
- Nail gun
- Drill
- Tape measure
- Circular saw
- Caulk gun
- Chalk line
- Level
- Drill bit set
- Hearing protection
- Jigsaw
- Stepladder
- Pocket hole jig
- Router
- Sawhorses
- Speed square
- Tin snips
Step 1: Build the Foundation
Make sure to check that the foundation of your shed is a perfect square. Install wood rails where the storage shed floor can rest on.
Thus keeping your wood floor from touching the dirt and moisture, prolonging the lifespan of your shed. Ensure that your own shed foundation is durable and sturdy.
Step 2: Assemble the Floor Frame
Grab your boards and start measuring. Once you’re done, you can now cut the pieces and start building your floor frame with 5 easy steps.
Step 3: Install the Flooring
Now that you’ve completed the floor frame, time to install your floor sheeting. Be sure that it’s the right fit before you cut, glue, and nail your sheet.
Step 4: Build the Roof Rafters
Be sure that you have all the angles of your roof rafters aligned properly. You wouldn’t want them to end up uneven.
RELATED: How To Build An Outdoor Fireplace | Homesteading DIY Skills
Step 5: Build the Wall Framing
Set your roof rafters aside and start working on your wall frame next.
Step 6: Install the Siding

Once you have the wall framed up, it’s now time to cover it up with the siding of your choice.
Step 7: Roof Framing and Sheet Application
After you have all the sidings attached, next up is roofing your shed. Remember the roof rafters you built earlier? You’ll be installing that along with the roof sheet.
Step 8: Attach the Shed Trim
Can you see it’s starting to look like a shed now? Don’t forget to install the trims. It’s just 5 easy steps, then you’ll be all set.