(Continued from Part 4. This concludes the article.)
Cloud Dancing
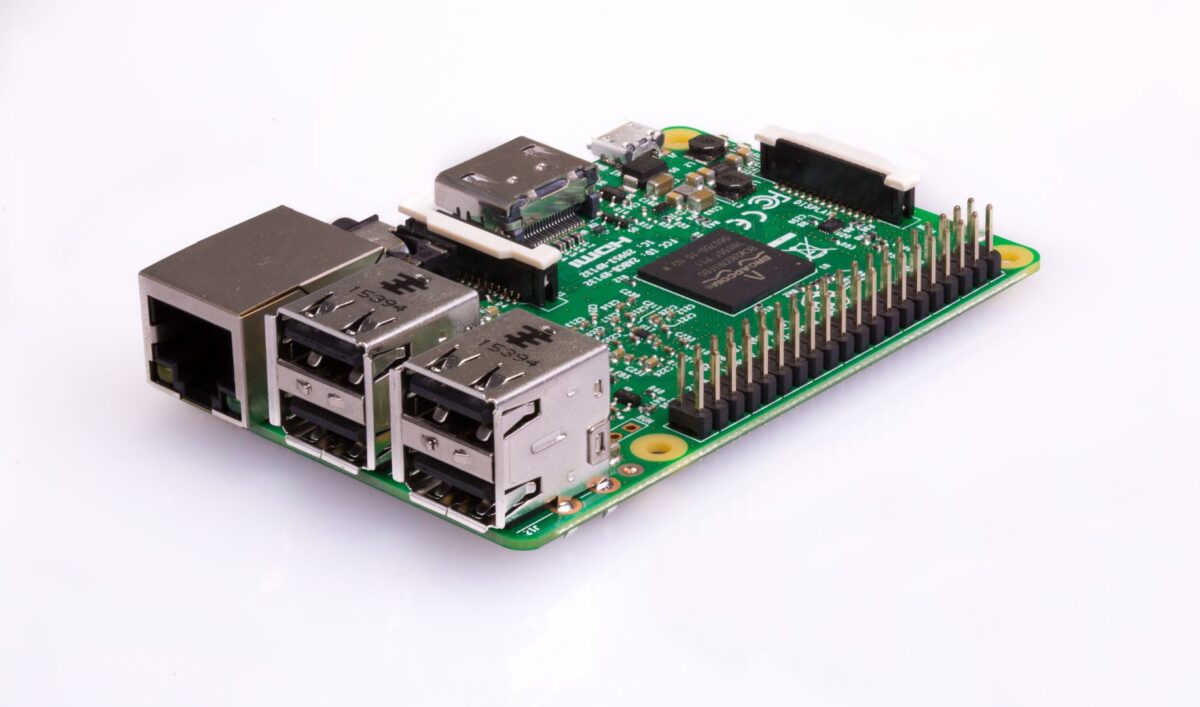
Next, we’ll set up the Nextcloud application. Assuming your laptop and Raspberry Pi are still connected to your GL.iNet router and it has Internet access, open up a web browser on your laptop and enter the following address: ‘http://nextcloud.local’ – depending on your operating system and browser you may get a warning that says the connection isn’t private – just click to proceed anyway (or click on ‘Advanced’ and then ‘Proceed’). The first screen that will pop up is the following:
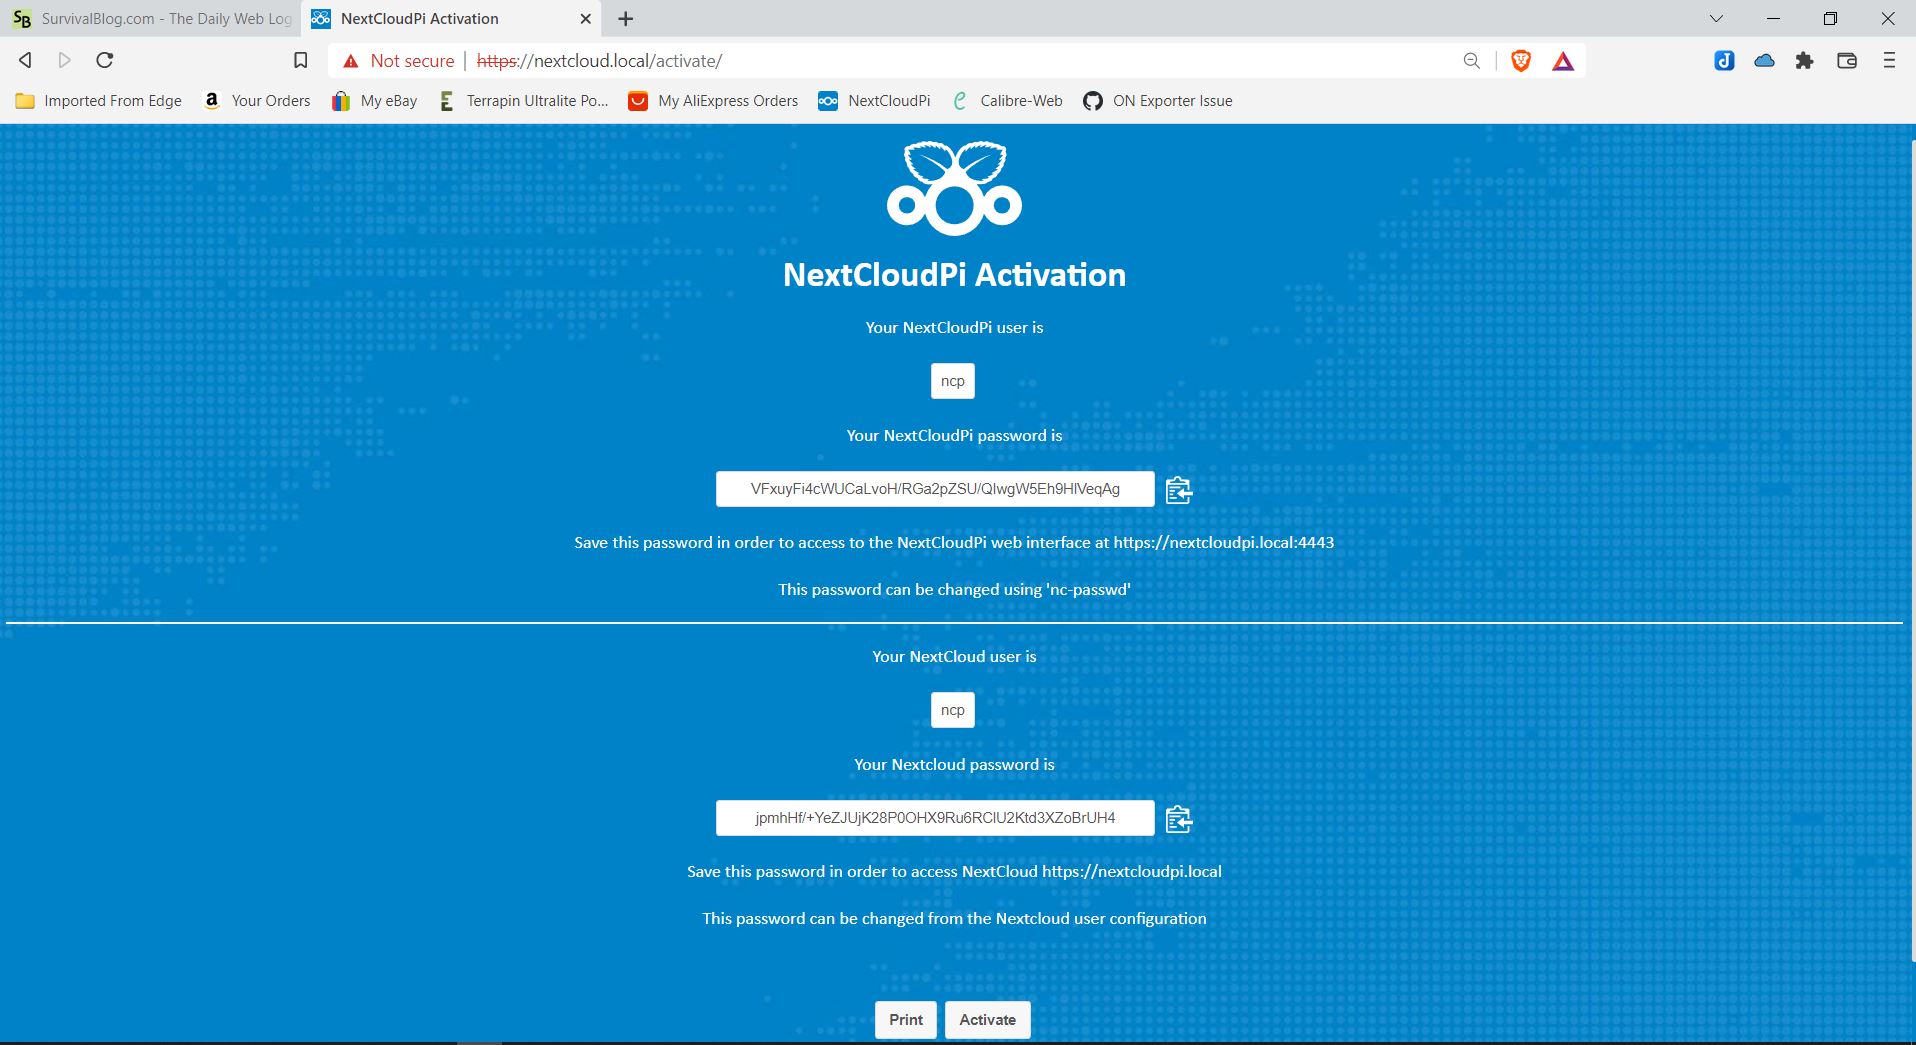 Figure 16: Nextcloud Activation
You’ll notice that there are two very very very long passwords displayed – the first one is for accessing the Nextcloud maintenance functions (http://nextcloud.local:4443) and the second one is for the default Nextcloud general user account ‘ncp’ (http://nextcloud.local). We’ll change these later on, but it’s absolutely critical that you save them somewhere like in a text file on your laptop for now. If you don’t and can’t remember them you’ll need to go back and re-image the microSD card from scratch.
Once you’ve saved the two passwords, click ‘Activate’ at the bottom. Once it’s done activating you will be automatically redirected to the Nextcloud maintenance interface and a login window will pop up that looks like this:
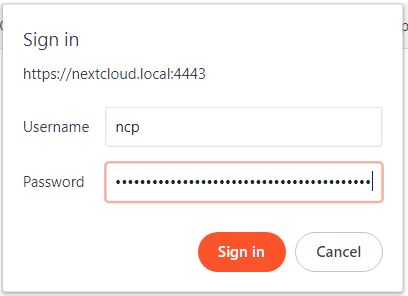 Figure 17: Nextcloud First Login
The username is ‘ncp’ and the password is that top really long Nextcloud maintenance password you saved from the previous screen. Enter those and click on ‘Sign In’. A configuration ‘First Run’ window will pop up – click on ‘skip’ since we’re not going to be doing any advanced set up at this time. You’ll next see the maintenance interface which looks like this:
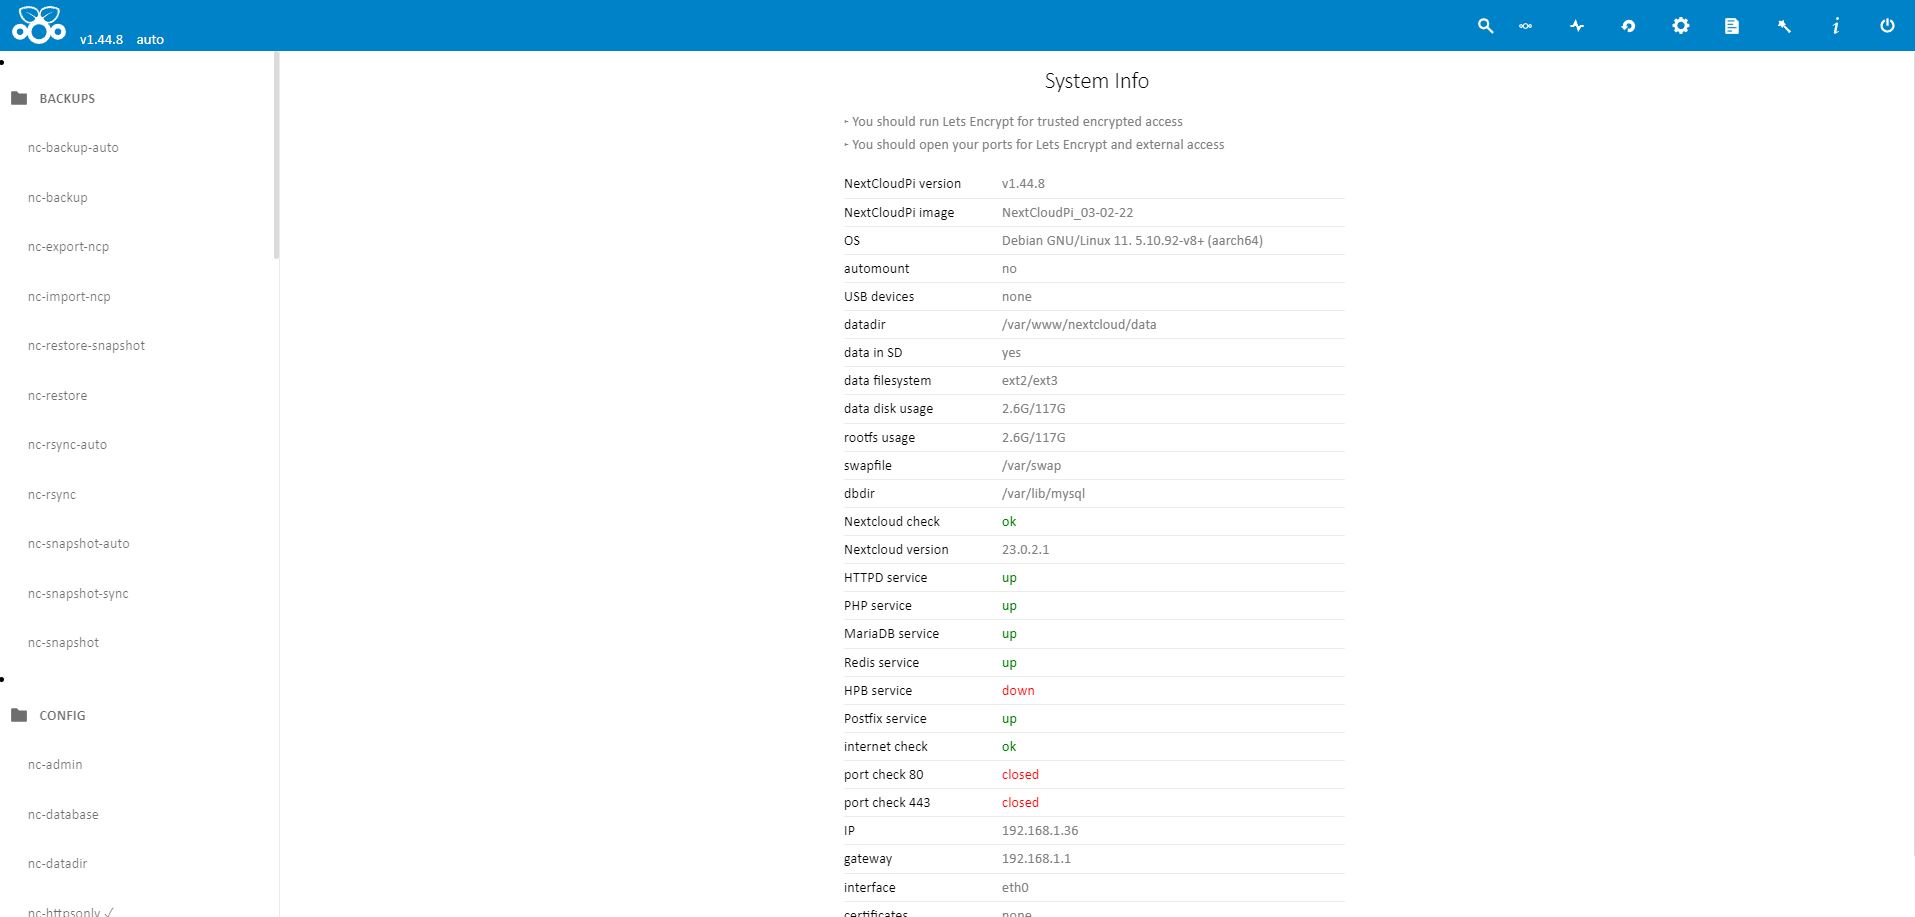 Figure 17: Nextcloud Maintenance Interface
The first thing we’re going to do here is change that really long maintenance password – on the left side, scroll down until you see a function named ‘nc-passwd’ in the ‘Config’ section; click on nc-passwd and you’ll be prompted to enter a new maintenance password in the right frame. Enter and confirm a new password and click ‘Apply’. This replaces that first really long password you save from the activation screen, so write it down or save it somewhere as your ‘Nextcloud Maintenance Password’.
Next, scroll down on the left side and find ‘nc-httpsonly’ in the ‘Config’ section and click on it. On the right frame, uncheck the box labeled ‘Activate’ and click ‘Apply’. This is less secure, but since we’re not going to be permanently connecting this to the Internet it’ll will save a bunch of warning messages later on.
Next click on the small icon on the top right that looks like a circle with two smaller circles on each side – when you hover over it with your mouse pointer it’ll say ‘Launch Nextcloud’. That will…