DIY Rabbit Hutch: 8 Free Plans for Building a Perfect Outdoor Home

Ever wondered how you can provide a comfortable and safe space for your furry friends? With our step-by-step guide, you’ll learn how to construct your very own rabbit hutch. Whether you’re a beginner or an experienced DIY enthusiast, this project is perfect for anyone who loves animals and wants to create a custom home for their rabbits.

Imagine the satisfaction of seeing your rabbits hop around in a hutch that you built with your own hands. No more worrying about cramped spaces or inadequate shelter. Our easy-to-follow instructions, complete with diagrams and templates, will guide you every step of the way. From designing the layout to ensuring proper ventilation and food storage, we’ve got you covered.

Understanding Rabbit Hutch Basics

DIY Rabbit Hutch: 8 Free Plans for Building a Perfect Outdoor Home

Important Features for a Healthy Hutch

There are several important features you need to consider to ensure the health and well-being of your furry friends. One crucial aspect is ventilation. Proper airflow is essential to prevent the buildup of ammonia from urine and feces, which can be harmful to rabbits’ respiratory systems. Incorporating vents or mesh panels into the design will help maintain good air circulation.

Insulation is another key consideration, especially if you live in an area with extreme temperatures. Insulating the hutch will provide protection against both cold and hot weather conditions, keeping your rabbits comfortable throughout the year. You can use materials such as foam insulation or double-walled construction to create a thermally efficient environment.

The flooring of the rabbit hutch also plays a vital role in their overall health. Wire mesh floors are commonly used as they allow droppings to fall through, preventing rabbits from sitting in their waste. However, wire mesh alone can be uncomfortable for their feet. To address this, providing a solid surface within the hutch where they can rest is beneficial.

Space and security are essential factors in designing a healthy rabbit hutch. Rabbits need enough room to move around freely and engage in natural behaviors like hopping and stretching. The general rule of thumb is that each rabbit should have at least four times its length in living space within the hutch. Incorporating secure doors and latches will protect your rabbits from predators while allowing easy access for cleaning and maintenance.

Waste management systems are crucial for maintaining cleanliness within the hutch. Consider including removable trays or slatted floors that allow droppings to fall into a collection area below. This makes it easier to clean up waste regularly without disturbing your rabbits too much.

Selecting the Right Location

Choosing the perfect location for your rabbit hutch is essential for their comfort and safety. Start by considering the amount of sunlight exposure the area receives. While rabbits need some natural light, excessive direct sunlight can cause overheating. Opt for a spot that offers a balance of shade and sunlight throughout the day.

Temperature is another crucial factor to consider. Rabbits are sensitive to extreme heat or cold, so it’s important to select a location…
How to Start Homesteading: A Beginner’s 10-Step Guide

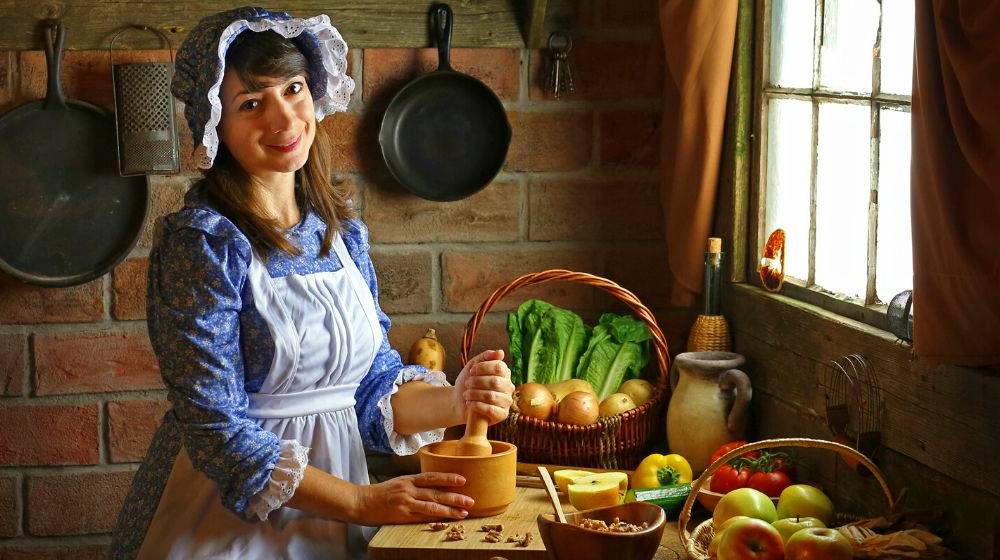
Dreaming of a simpler, more sustainable lifestyle? Homesteading might just be the answer for many homesteaders searching for homegrown food, hunting, and agriculture. Homesteading is all about embracing self-sufficiency in agriculture, living off the land through hunting, and reconnecting with nature in your own homemade backyard. Urban homesteading is a way of life that involves gardening, agriculture, raising livestock, and preserving food on a productive homestead. It encompasses a wide range of homesteading activities.

But where did this concept come from? The roots of homesteading in the United States can be traced back to the 1800s with the Homestead Act of 1862, which encouraged individuals to settle and cultivate agricultural land. This act allowed people to claim and develop their own property, turning it into a self-sufficient backyard for farming and hunting. This act allowed settlers to claim free land for productive homesteading activities if they were willing to develop and cultivate it. Thousands of farmers and families seized this opportunity in agriculture to establish their own homesteads and create a better future for themselves and their backyard.

So get ready, farmers, to embrace a simpler way of life as we uncover the wonders of homesteading and share delicious recipes made with backyard food.

Planning Your Homestead Journey

Setting Goals for Your Endeavors

Define your vision for homesteading. Do you want to achieve self-sufficiency in food, live a more sustainable lifestyle, or both? Are you looking to develop the skill of growing your own food and supporting local farmers? Explore our blog for delicious recipes that will help you on your journey. Take some time to reflect on your aspirations and write down your skill goals. It could be related to gardening, animal husbandry, renewable energy sources, or any other aspect of homesteading that resonates with farmers. Whether it’s growing food, caring for animals, finding sustainable energy sources, or exploring new recipes, these aspects of homesteading are essential to the farmer’s life.

Once you have defined your goals, break them down into actionable steps to develop the necessary skills and work towards creating delicious recipes and food. This will help you track your progress and stay motivated along the way as you develop your cooking skill, work on trying new food recipes. For example, if one of your goals is to start a vegetable garden, break it down into smaller tasks like researching different plant varieties, preparing the soil for planting seeds, and trying out new recipes using the fresh produce from your garden. This will not only improve your gardening skills but also support local farmers. By breaking larger goals into manageable steps, you can skillfully tackle the work one by one and celebrate each good milestone as a start.

Remember that goal setting is not set in stone. As you gain skill and knowledge in homesteading, regularly reassess and adjust your work goals accordingly. There is a lot going on in this field, so it’s important to stay flexible and adapt as needed. You may find that…

Bourbon-Caramel Dipping Sauce Recipe (Corn Syrup Free)

Bourbon Caramel Sauce: A Culinary Adventure

Introduction

As a passionate home cook, I recently embarked on a delightful culinary journey to make the perfect Bourbon Caramel Sauce. Inspired by a recipe from Gimme Some Oven, I found this sauce to be a versatile, delicious addition to a variety of dishes. Let me share my experience and tips for making this irresistible treat.

Ingredients

making bourbon caramel sauce ingredients

  • Granulated White Sugar (1 cup): The foundation of the caramel, providing sweetness and the perfect texture.
  • Water (1/4 cup): Helps in dissolving the sugar evenly.
  • Heavy Whipping Cream (1/2 cup): Adds a creamy richness. Ensure it’s at room temperature to avoid clumping.
  • Butter (1/4 cup): Room temperature, for smooth incorporation.
  • Vanilla Extract (1 tsp): Optional, but enhances flavor.
  • Bourbon (2 tbsp): The star ingredient, adding a unique twist.
  • Fine Sea Salt (1 tsp): Balances the sweetness and elevates the flavors.

Step-by-Step Guide

  1. Combine Sugar and Water: In a heavy-bottomed saucepan, stir together sugar and water.
  2. Caramelize the Sugar: Over medium-high heat, let the sugar mixture transform from clear to golden to deep amber, like a copper penny. Do not stir during this process.
  3. Add Cream and Other Ingredients: Slowly pour in the cream, whisking constantly (be cautious of bubbling). Then, mix in butter, vanilla, bourbon, and salt.
  4. Cooling and Storing: Serve immediately or let it cool to room temperature for thicker consistency. Can be refrigerated for up to 2 weeks.

Pro Tips

  • Temperature Matters: Both cream and butter should be at room temperature or slightly warmed to prevent the caramelized sugar from seizing.
  • Patience is Key: Caramelizing sugar requires patience. Don’t rush the process; keep a close eye to prevent burning.
  • Customize Your Flavor: Feel free to adjust the amount of bourbon and salt to suit your taste.

Serving Suggestions

  • Desserts: Drizzle over ice cream, brownies, pies, or fruit. It pairs wonderfully with grilled peaches, apples, pears, and more.
  • Beverages: Elevate your coffee drinks with a hint of this sauce.

My Experience

Creating this bourbon caramel sauce was a delightful experience. The process of caramelizing sugar was mesmerizing, and the addition of bourbon brought a sophisticated depth to the sauce. It was a hit when I served it over homemade vanilla ice cream and also made a fantastic addition to my morning coffee.

Key Takeaways

  • Making bourbon caramel sauce is straightforward and rewarding.
  • Adjust the ingredients to tailor the sauce to your preferences.
  • This versatile sauce can enhance a wide range of desserts and beverages.

In this video, Jerry James Stone presents a recipe for making bourbon caramel dipping sauce. The process involves caramelizing sugar, which he notes can be done in two ways: dry or wet. Jerry recommends the wet method as it’s easier for beginners. The recipe calls for 1 and 1/2 cups of granulated sugar mixed with 1/3 cup of water and a little lemon juice. The lemon juice prevents sugar crystallization. Alternatively, cream of tartar or corn syrup can be used.

The mixture is heated until the sugar dissolves, then brought to a medium-high heat to simmer. It’s crucial to monitor the simmering sugar closely to avoid burning. When the sugar…

Creating Your Own Garden Paradise: Tips for a Serene Outdoor Haven

Gardens are more than just outdoor spaces; they are opportunities to craft personal havens where you can escape, unwind, and relax with a glass of sweet wine. To turn your garden into a little paradise, consider the following tips and ideas that will transform it into a serene and rejuvenating oasis.

  1. Define Your Vision: The first step in creating a garden paradise is to define your vision. What do you want to experience in your garden? Is it a peaceful retreat, a vibrant floral haven, or a functional, self-sustaining space? Take some time to clarify your goals and visualize the atmosphere you want to create.
  2. Plan and Design: Once you have a clear vision, plan and design your garden space accordingly. Consider factors like the size of your garden, the climate, and the types of plants that thrive in your region. Design paths, seating areas, and focal points to ensure your garden is not only visually pleasing but also functional.
  3. Choose the Right Plants: The choice of plants is critical in transforming your garden into a paradise. Select a variety of plants, including trees, shrubs, flowers, and groundcovers, to add depth and interest. Opt for native plants that are well-suited to your climate, as they require less maintenance and can attract local wildlife.
  4. Create Inviting Paths and Walkways: Well-planned paths and walkways can enhance the appeal of your garden. Use natural materials like gravel, stone, or wood to create pathways that meander through the garden, inviting exploration. Incorporate curves and hidden corners to make your garden feel larger and more mysterious.
  5. Water Features: Water has a soothing effect and can elevate the tranquility of your garden. Consider adding a small pond, a bubbling fountain, or a simple birdbath. The sound of running water can drown out urban noise and create a serene environment for relaxation.
  6. Garden Seating: To fully enjoy your garden paradise, include comfortable seating. Whether it’s a bench, a swing, or a hammock, choose a spot where you can unwind, read, or simply soak in the beauty of your garden. Adding comfortable cushions or pillows will make your seating area even more inviting.
  7. Outdoor Lighting: Extend the hours of enjoyment in your garden by incorporating outdoor lighting. Soft, warm lighting can create a magical ambiance at night. Use solar-powered lights, string lights, lanterns, or hidden LED strips to illuminate paths, trees, and garden features.
  8. Wildlife-Friendly Garden: Encourage local wildlife to visit your garden by incorporating bird feeders, butterfly-friendly plants, and small wildlife habitats. The presence of birds, butterflies, and bees can add to the charm of your garden paradise and help create a harmonious ecosystem.
  9. Seasonal Variety: Ensure your garden paradise has something to offer in every season. Plant a mix of evergreen and deciduous plants, so your garden remains attractive throughout the year. Spring and summer can bring vibrant blooms, while autumn showcases beautiful foliage, and winter offers a unique, serene charm.
  10. Edible Delights: Consider incorporating a small vegetable or herb garden into your paradise. Fresh herbs, vegetables, and fruits not only provide a rewarding gardening experience but also allow you to enjoy the…

Pilgrim Thanksgiving Recipes | What Did The Pilgrims Really Eat?

Pilgrim Thanksgiving Recipes | What Did The Pilgrims Really Eat? tallest) { tallest = thisHeight; } }); group.height(tallest); } equalHeight($(“.dg-grid-shortcode .dg_grid-shortcode-col”)); $(window).resize(function() { equalHeight($(“.dg-grid-shortcode .dg_grid-shortcode-col”)); }); }); ]]> Sorry, this product is unavailable. Please choose a different combination. ]]>

Cyber Monday Kitchen Deals for Homesteaders

Cyber Monday Kitchen Deals for Homesteaders | Homesteading tallest) { tallest = thisHeight; } }); group.height(tallest); } equalHeight($(“.dg-grid-shortcode .dg_grid-shortcode-col”)); $(window).resize(function() { equalHeight($(“.dg-grid-shortcode .dg_grid-shortcode-col”)); }); }); ]]> Sorry, this product is unavailable. Please choose a different combination. ]]>

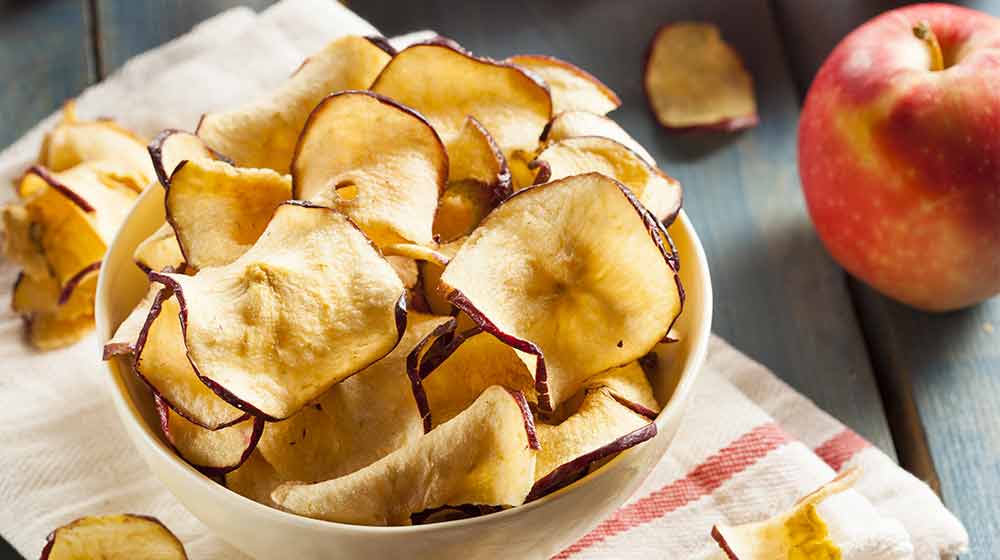
A Guide To Dehydrating Apples

A Guide To Dehydrating Apples | Homesteading tallest) { tallest = thisHeight; } }); group.height(tallest); } equalHeight($(“.dg-grid-shortcode .dg_grid-shortcode-col”)); $(window).resize(function() { equalHeight($(“.dg-grid-shortcode .dg_grid-shortcode-col”)); }); }); ]]> Sorry, this product is unavailable. Please choose a different combination. ]]>

DIY Greenhouses: A Comprehensive Guide to Building Your Own Greenhouse

Introduction

Hey there, gardening enthusiasts! If you’ve ever dreamed of extending your growing season, then you’re in for a treat! We stumbled upon this incredible blog post by A Piece of Rainbow that covers everything you need to know about DIY greenhouses. From simple cold frames to elaborate hoop houses, this guide is a treasure trove of inspiration and practical advice. We’re so excited to share this with you!

Key Takeaways

Why Build a Greenhouse?

  • Extend the Growing Season: Greenhouses allow you to garden year-round, even in cold climates.
  • Budget-Friendly: You don’t need a big budget or advanced carpentry skills to build your own greenhouse.
  • Resourceful and Sustainable: The guide encourages the use of recycled materials like old windows, pallets, and even plastic bottles.

Types of DIY Greenhouses

  1. Plastic Bottle Greenhouses: An eco-friendly and cost-effective option.
  2. Cedar Branch Hoop Houses: Long-lasting and made from natural materials.
  3. Pallet Greenhouses: Utilizes pallet wood, a readily available and sturdy material.
  4. Old Window Cold Frames: A great way to repurpose old windows.
  5. Straw Bale Cold Frames: Ingenious and simple, using straw bales as insulating walls.
  6. A-Frame Greenhouses: Easy to build and versatile.
  7. Hardware Fencing Hoop Houses: Made from hardware wire mesh, these are sturdy and durable.
  8. Retractable Hoop Houses: These have a smart design that makes it easy to work on garden beds.
  9. Geodesic Dome Greenhouses: These offer stability in high wind locations and optimal sunlight absorption.

Additional Tips

  • Passive Heating: Some designs incorporate passive heating elements like painted jugs to keep the greenhouse warm.
  • Material Choices: The guide also provides tips on choosing the right materials, such as good quality greenhouse plastic.
  • Lead Paint Caution: If you’re using old windows, make sure they were not painted with toxic lead paint.

Filling the Gaps

While the original post is comprehensive, it could delve deeper into the following:

  • Climate Considerations: How to adapt your greenhouse design based on your local climate.
  • Irrigation Systems: Tips on setting up an efficient watering system.
  • Pest Control: Natural ways to keep pests at bay.
  • Cost Estimates: A rough guide on the cost involved in building different types of greenhouses.
  • Step-by-Step Tutorials: More detailed tutorials for each type of greenhouse would be beneficial.

Conclusion

Whether you’re a gardening newbie or a seasoned pro, this guide offers something for everyone. So, what are you waiting for? Roll up those sleeves and start building your dream greenhouse today!

For the full guide and tutorials, make sure to visit the original post on A Piece of Rainbow. Happy gardening!

13 Beautiful Places To Visit This Fall

13 Beautiful Places To Visit This Fall | Homesteading tallest) { tallest = thisHeight; } }); group.height(tallest); } equalHeight($(“.dg-grid-shortcode .dg_grid-shortcode-col”)); $(window).resize(function() { equalHeight($(“.dg-grid-shortcode .dg_grid-shortcode-col”)); }); }); ]]> Sorry, this product is unavailable. Please choose a different combination. ]]>

The Ultimate Guide to Chicken Dust Baths: What to Add and What to Avoid

Hey, fellow homesteaders! If you’re as passionate about raising healthy, happy chickens as I am, then you’re going to love this comprehensive guide on chicken dust baths. I recently stumbled upon an incredible blog post by Tara Dodrill on Survival Sullivan, and I just had to share it with you all. Tara’s post is a treasure trove of information, but I’ve expanded on it to give you even more insights!

What is a Chicken Dust Bath?

First things first, let’s talk about what a chicken dust bath is. It’s a blend of natural substances that help clean and deter the growth of parasites in your chickens. Tara recommends using old tires, plastic tubs, or even cinder blocks to create a “bath” for the chicken dust materials. The bath should be at least 10 inches deep and large enough to accommodate multiple hens.

Why Do Chickens Need Dust Baths?

  • Social Activity: Chickens are social creatures, and dust bathing is a group activity they absolutely love.
  • Parasite Control: Dust baths help in controlling various types of parasites like mites, lice, and ticks.
  • Feather Care: The dust bath helps in maintaining the sheen and health of the chicken’s feathers.

What to Add to Your Chicken Dust Bath

Tara provides an excellent list of items you can add to your chicken dust bath. Here’s an expanded list:

Essential Ingredients

  • Sand: Acts as a base and provides grit for digestion.
  • Soil: Helps bind lighter ingredients together.
  • Diatomaceous Earth (DE): A powerful natural substance that can kill or prevent ticks.
  • Wood Ash: Contains potassium and calcium, and helps deter some parasites.

Optional Herbal Additions

  • Lavender: Helps relieve stress and may increase blood circulation.
  • Dill: May serve as a preventative to respiratory illness.
  • Lemon Balm: Contains natural antibacterial compounds.
  • Rosemary: Natural pain relief aid and helps bolster the respiratory system.
  • Ginger: Stimulates appetite and promotes a robust circulatory system.
  • Fennel: Improves reproductive health and may serve as an egg-laying stimulant.
  • Catnip: Acts as a natural insecticide.
  • Mint: Natural rodent repellent and insecticide.
  • Thyme: Holds antibiotic and antibacterial properties.
  • Basil: Enhances the mucus membrane and may produce brilliantly colored egg yolks.

What Not to Add

  • Kitty Litter: Contains fragrances and deodorizers.
  • Sawdust: Too lightweight and absorbent.
  • Straw: Houses mites and lice.
  • Coal Ash: Contains toxic substances like heavy metals and sulfur.
  • Pine Shavings: Harmful to the chicken’s respiratory system.
  • Cedar Shavings: Contains plicatic acid which is harmful when inhaled.

Chicken Dust Bath Mixture Recipe

For optimal results, Tara suggests the following ratio:

  • 2 parts soil
  • 1 part wood ash
  • 1 to 2 parts sand
  • 1 part diatomaceous earth
  • ½: Ensure the dust bath hasn’t become too soggy or hard.
  • Seasonal Relocation: Consider moving the bath to a shady spot during warm months and a sunny spot during cold months.
  • Perches: Add low-hanging perches for the chickens to preen their feathers after bathing.

Final Thoughts

Chicken dust baths are not just beneficial for the hens but also a joy to watch. They chatter, play, and have a grand time while also getting rid of parasites that can make them sick. So, go ahead and create that perfect dust bath for your feathered friends!

Huge shoutout to Tara Dodrill for her amazing insights. Make sure…